Prerequisites
This guide assumes you have already completed the following steps:
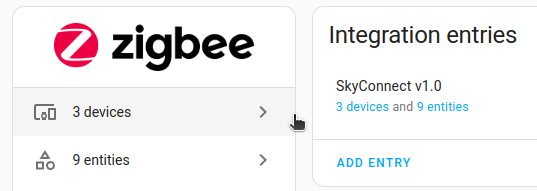
- Have the Zigbee Home Automation (ZHA) integration up and running.
- Enabled multiprotocol support
Disable multiprotocol support
Step 1
Uninstall the Silicon Labs Multiprotocol add-on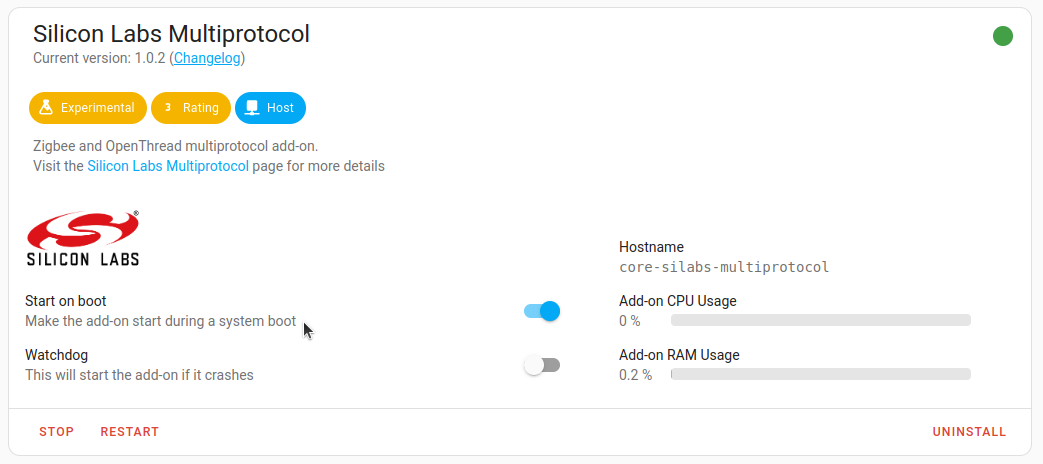
- To disable the multiprotocol feature and use SkyConnect for Zigbee only, make sure to follow all the steps in this procedure.
- Go to Settings > Add-ons, and in the Silicon Labs Multiprotocol add-on, select Uninstall.
Step 2
Flash the Silicon Labs radio firmware
- You can update the firmware of the Silicon Labs radio to work with Zigbee only. Go to Settings > Add-ons, and install the Silicon Labs Flasher add-on.
- Make sure the Start on boot and the Auto update options are disabled.
- In the Configuration tab, select the serial port with SkyConnect and save the changes.
- To observe the flashing process, open the Logs tab in a separate window.
- On the Info tab, start the Silicon Labs Flasher.
- Wait for the flashing process to complete. This may take a while. To view the progress, in the Logs tab, select Refresh.
- When you reload the add-on UI (Ctrl+Shift+R), the dot on the top right should have changed from green to red. If it is still green, the process is not finished.
- Once you see the red dot, the flashing process is complete. Continue with the next step.
Step 3
Rename the Zigbee Home Automation (ZHA) integration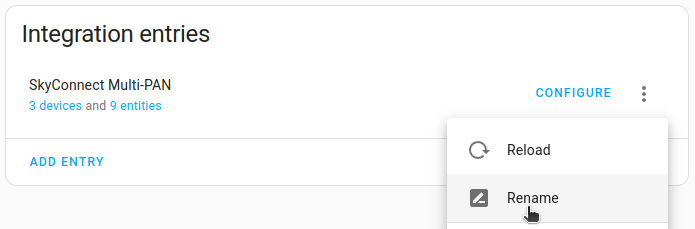
- SkyConnect is now setup in the non-multiprotocol ZHA integration, although the title still includes Multi-PAN.
- Select the Zigbee Home Automation (ZHA) integration.
- Select the three-dot menu and select Rename.
- Remove Multi-PAN from the name of the integration.
Step 4
Start the radio migration process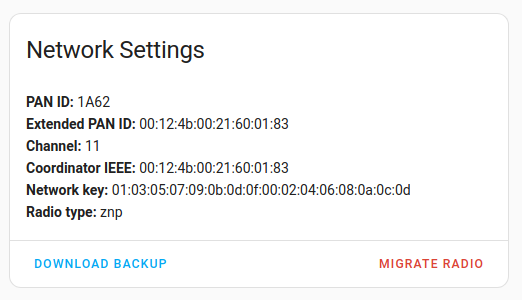
- Select Configure.
- Under Network Settings, select Migrate radio.
Step 5
Reconfigure ZHA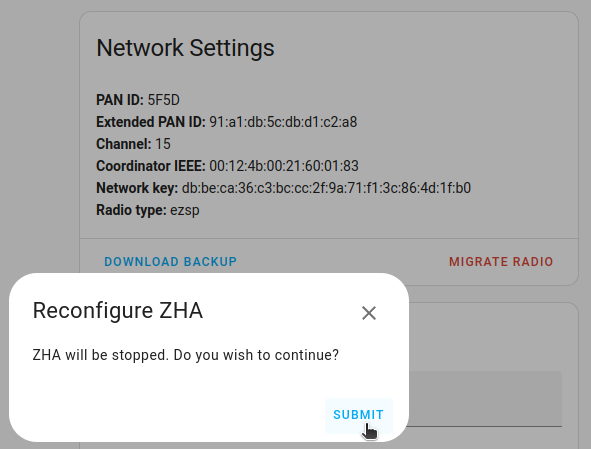
- Select submit.
Step 6
Reconfigure the current radio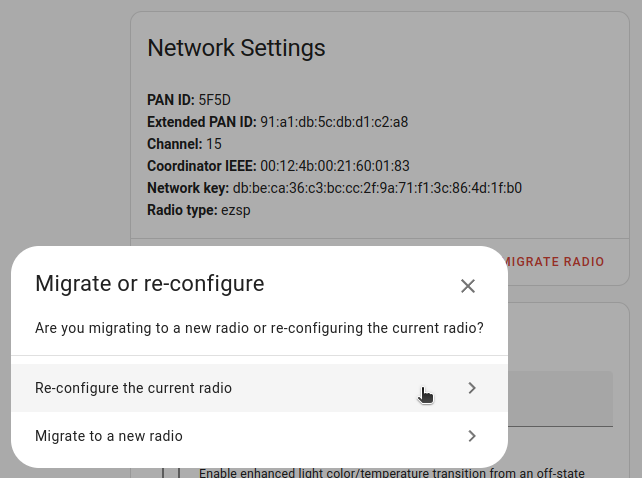
- Select Re-configure the current radio.
Step 7
Select a serial port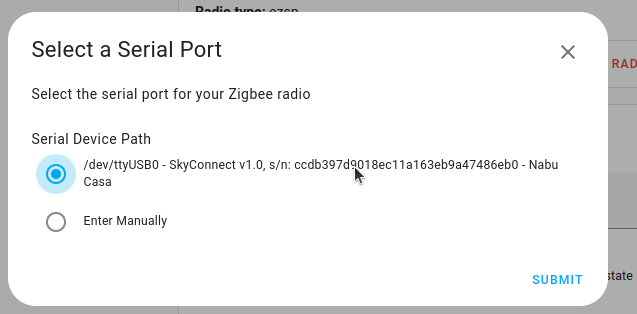
- Select the path with SkyConnect.
Step 8
Restore an automatic backup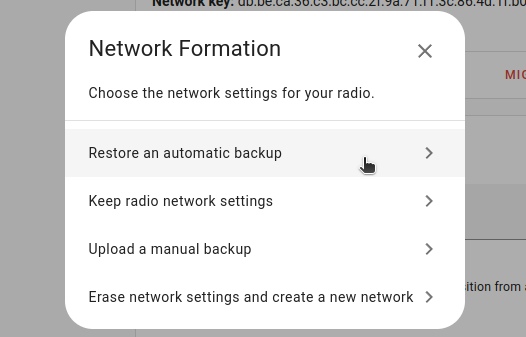
- Select Restore an automatic backup.
Step 9
Choose a backup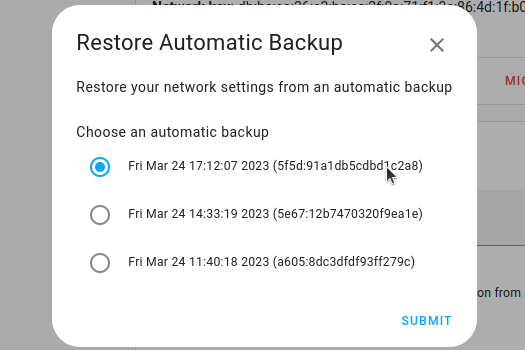
- Choose the latest backup and select Submit.
Step 10
Migration complete!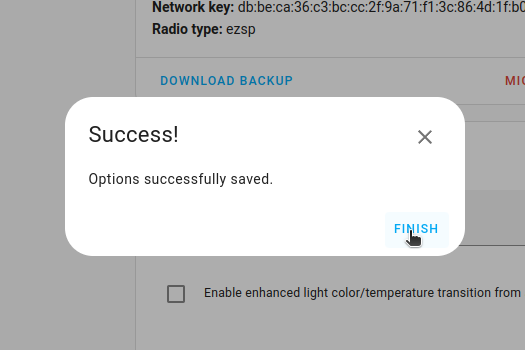
- Select Finish to confirm. The migration process is now complete.
- You won't be able to control the devices until they rejoin the network. Normally, they rejoin within one hour. You may be able to accelerate that process by power-cycling devices.